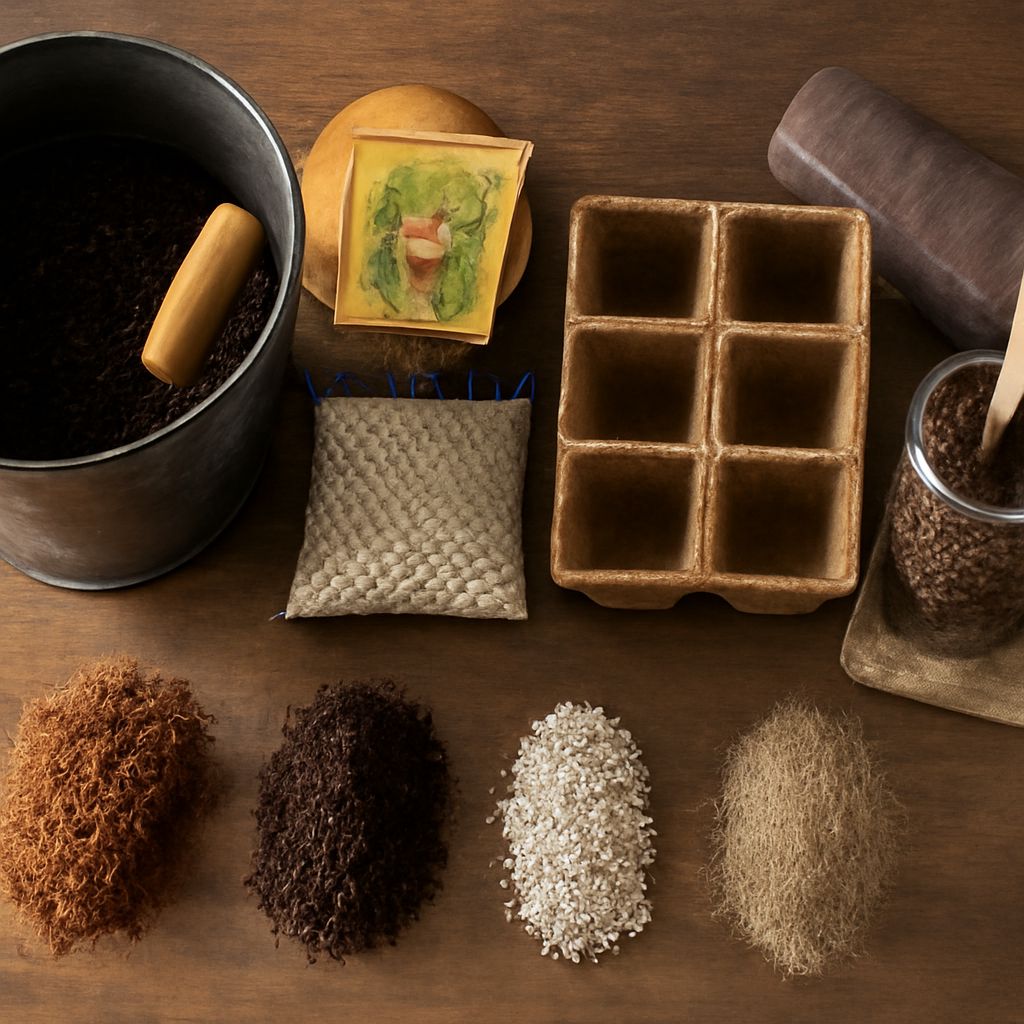
The right medium depends on what you have and how closely you can tend the trays. A bagged seed-starting product is convenient and consistent; a seed starting mix made at home lets you measure the ingredients yourself. Either way, a mix for seedlings should hold moisture while leaving enough air around the roots.
Seedling Mix Basics: What Goes Into the Tray
A fine, light seedling mix gives a small seed good contact with moisture without forming a hard crust. It also drains well enough that tender roots can breathe. Ordinary garden soil can compact in a small container and may carry weed seeds or disease organisms. The University of Minnesota Extension recommends commercial soilless products designed for germination.
For a homemade seed starting mix, start with clean, unused materials. Sphagnum peat moss holds water and helps keep the mixture light. Fine vermiculite holds water, too, and creates spaces between particles. Perlite contributes air space and drainage but holds less water than vermiculite, so trays containing more perlite may need closer attention. Use horticultural grades, rather than construction materials that may contain additives.
Coconut coir is another moisture-holding ingredient. It is often sold compressed and must be hydrated before use. Products differ in texture and salt content, so choose one labeled for horticultural use and follow its preparation directions. A fine-textured commercial soilless mix for starting seeds can save measuring if you only need a few cells. Check the label for added fertilizer and wetting agents so you know what is already in the bag.
A measured batch for sowing
This soilless seed starting mix makes about 2 quarts before settling. It uses the half-and-half ratio of peat moss and vermiculite described by Washington State University Extension:
- 1 quart fine sphagnum peat moss
- 1 quart fine horticultural vermiculite
- Clean water, added gradually
Use the same measuring cup for both ingredients if you need a smaller batch. Break up peat clumps and remove coarse sticks, then combine it thoroughly with the vermiculite in a clean tub. Add water a little at a time, turning the material until moisture reaches the center. Dry peat can resist water at first; give it time to absorb moisture and mix again before adding more.
This DIY seed starter mix is intended for germination and the first weeks of growth. This soil-free mix for starting seeds supplies little nutrition, so plan to feed young plants later. For this small batch, avoid guessing at tiny amendment amounts. If seedlings must stay in containers for a long time, move them into a suitable potting medium and follow its feeding directions.
Fill and sow without packing
Wash reusable trays and pots before filling them, and use containers with drainage holes. A divided tray keeps roots from tangling and makes transplanting easier. Place the cells in a waterproof tray to catch drainage. Fill them nearly to the top with your home-mixed soilless medium for starting seeds, then gently level the surface. Press only enough to settle it; firm packing squeezes out the air spaces roots need.
Follow the seed packet for sowing depth, spacing, and temperature. Some seeds need light to germinate and should not be buried; others need a covering of medium. Label each row with the variety and date. A clear cover can slow evaporation during germination, but check the tray daily and remove the cover as seedlings emerge so air can circulate.
A homemade mixture for starting seeds is easiest to manage when all its cells are watered evenly. Mist gently or add water to the bottom tray and let it wick upward. Check below the surface as well as on top: a quick spray can wet the surface while the middle stays dry. Pour away water left standing in the bottom tray after the medium has absorbed what it needs.
Care for the first leaves
Once shoots appear, give the seedlings in your mix bright light and adjust its height as they grow. Keep the seedlings’ growing mix evenly damp, not saturated. Trays dry at different speeds in a warm room, near a vent, or under lights, so lift a cell and feel its weight as well as testing the surface. Thin crowded plants so the strongest have room to grow; snip extra stems at the surface to avoid disturbing nearby roots.
Seeds carry the reserves needed to germinate. When seedlings have several sets of true leaves, Minnesota Extension recommends a general-purpose water-soluble fertilizer at one-quarter strength once a week for plants growing in a soilless medium. Use plain water between feedings as needed. The first seed leaves look different from the true leaves that follow; wait for those later leaves before feeding.
If seedlings outgrow their mix and cells before outdoor conditions are suitable, transplant them into larger clean pots. Hold each plant by a leaf, ease its roots out with some medium attached, and settle it into fresh potting mix for seedlings. Gradually acclimate plants to outdoor conditions before planting them in the garden.
Before sowing, take a handful of your home-prepared seed-starting mixture and squeeze it. It should feel evenly damp and hold together loosely, then crumble when touched. If water runs out, add a little dry material; if the center remains dusty, mix in more water. The final texture should be light and fine enough to settle around a seed without packing tight.


