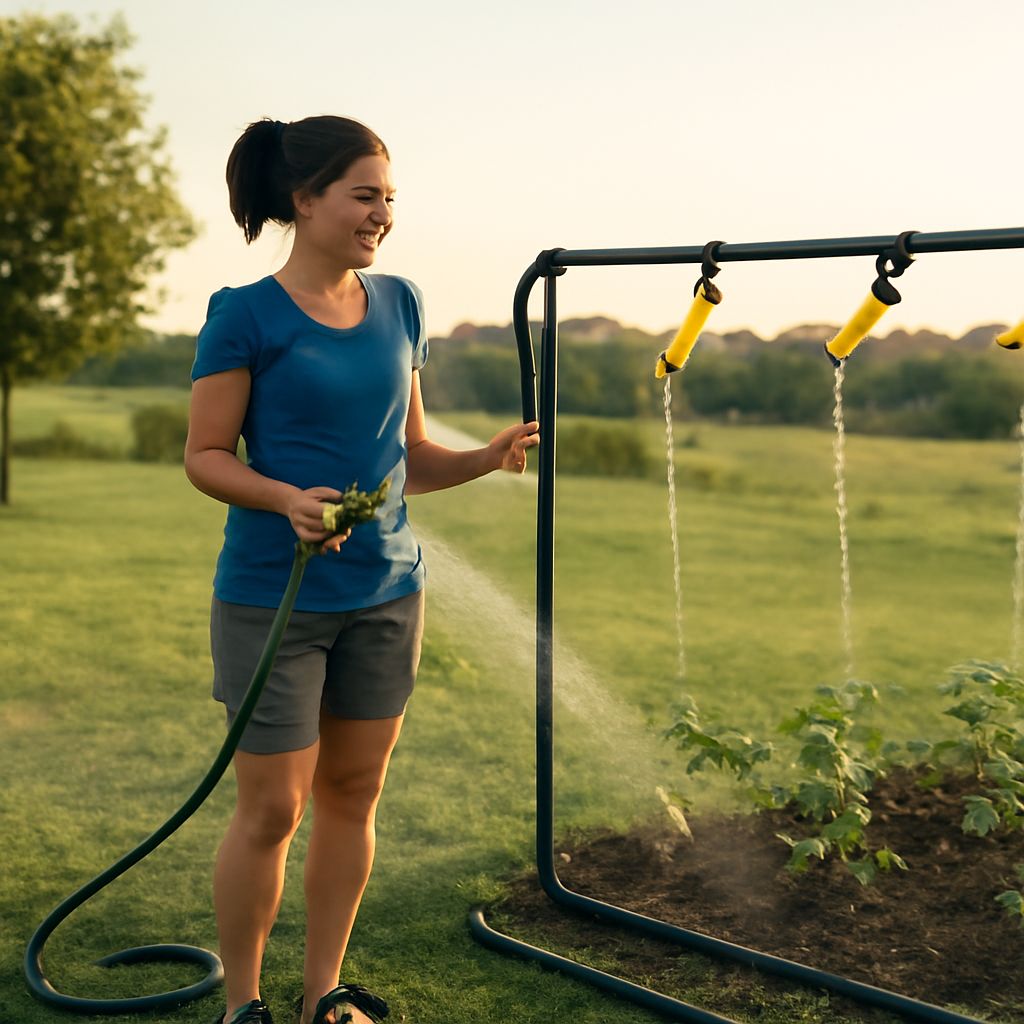
Many believe that maintaining a lush garden requires constant attention and overwhelming water bills. However, a DIY garden watering system can simplify irrigation, allowing us to enjoy thriving plants with minimal effort. This guide will debunk the myth that only professionals can handle garden irrigation effectively. By understanding and implementing a DIY approach, we can make watering both efficient and affordable.
Understanding a DIY Garden Watering System
A DIY garden watering system is more than just a few hoses laid out in the garden. It’s a thoughtfully designed setup that delivers water directly to the plants when they need it most. This system can include drip irrigation lines, soaker hoses, and even timers to automate the process. By mastering this approach, we transform our garden care routine into a well-oiled machine.
The key to success lies in understanding our garden’s specific needs. Different plants require different amounts of water. By customizing our DIY system, we ensure that every plant receives the optimal amount, promoting healthier growth and conserving water.
Benefits of a DIY Approach
Opting for a DIY garden watering system offers several advantages. First, it saves us money. Pre-made systems can be expensive, while a DIY setup allows us to use materials we may already have. Moreover, we gain flexibility in design. We can tailor the system to fit our unique garden layout, ensuring comprehensive coverage.
Additionally, creating our system enhances our understanding of how irrigation works. This knowledge empowers us to make quick adjustments and address issues as they arise. By taking a hands-on approach, we develop a deeper connection with our garden, making care more enjoyable and less of a chore.
Materials Needed for Your System
Before we get started, let’s gather the essential materials. We’ll need hoses, connectors, drip lines, stakes, and a timer. Depending on our garden’s size and complexity, we might also consider pressure regulators and filters. These components ensure that water is distributed evenly and effectively.
We should also have tools like scissors or a small saw to cut hoses to the desired lengths. With these materials in hand, our DIY garden watering system will be both efficient and tailored to our specific needs.
Step-by-Step Installation Guide
With our materials ready, we can begin the installation. First, we plan the layout. Think about where each plant is located and how much water it requires. Next, we lay out the hoses and connect them to the water source. This is where our DIY spirit shines; we can position everything perfectly to suit our garden.
After connecting the hoses, we install the drip lines or soaker hoses, ensuring they’re placed near the plant roots. Then, we adjust the timer to match our garden’s watering schedule. By testing the system, we ensure everything runs smoothly, making any necessary adjustments to optimize performance.
Maintenance Tips for Longevity
To keep our DIY garden watering system in top shape, regular maintenance is essential. Periodically, we should check for leaks or blockages in the lines. Cleaning filters and ensuring connections remain tight will prevent inefficiencies.
Seasonal changes may also necessitate adjustments. During cooler months, we might reduce watering frequency, while hotter periods could require more frequent attention. By staying proactive, we ensure our system’s longevity and our garden’s vibrancy.
Troubleshooting Common Issues
Even the best systems encounter issues. If we notice uneven watering, it’s often due to clogs in the drip lines. Checking and cleaning these lines is a simple fix. Leaks may arise from loose connections, which are easy to tighten.
If the system appears to be underperforming, inspecting the water pressure is crucial. Adjusting the pressure regulator can resolve many issues. By understanding these common problems, we can keep our DIY garden watering system running smoothly with minimal downtime.
Next Steps: Now that we’ve set up and optimized our DIY garden watering system, let’s commit to regular check-ups. Periodic maintenance ensures our garden remains a flourishing sanctuary, and we enjoy the satisfaction of a job well done.