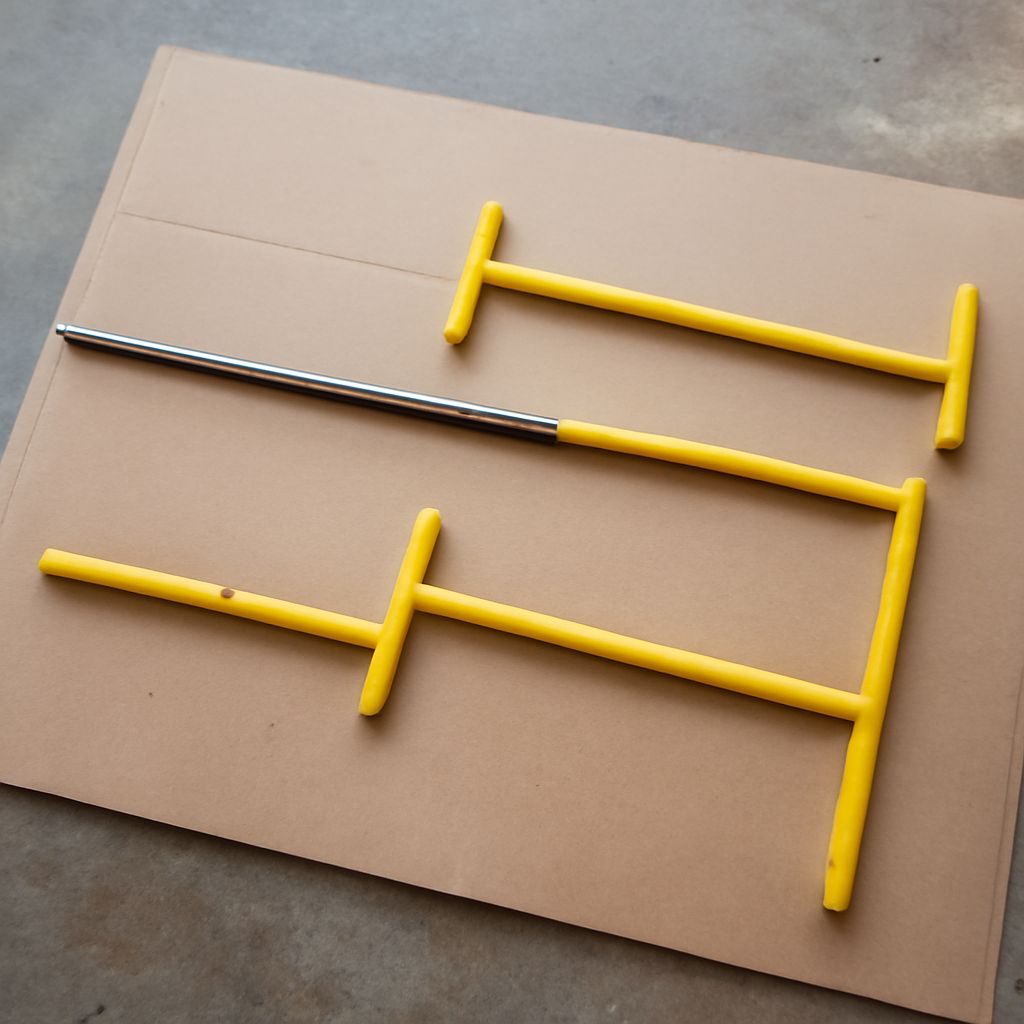
A narrow planting slit works only if it gives a seedling’s roots enough room to lie straight. For small bare-root tree seedlings in workable soil, a dibble or tree bar can make that slit quickly. For a broad root system, a large container-grown plant, or ground packed with stones, a shovel or another digging tool gives you more control. The right tree-planting tool is the one that makes room for the roots, not merely the one that makes the quickest hole.
A dibble bar is a long-handled tool with a narrow metal blade and often a foot step. You press it into the ground and use the handle to open a slot. It is a practical tool for planting many small seedlings, provided each slot is deep and wide enough for the plant it receives.
Tree Planting Tool Choices: Match the Roots and Soil
A tree planting tool should suit the stock as well as the site. Bare-root seedlings arrive without a pot of soil around their roots. A slit made by a bar may suit a small, relatively narrow root system, especially when several similar seedlings need planting in open ground. Check a seedling against the blade before starting: the roots must fit without being folded or crowded.
Container seedlings bring a plug or root ball with them. Some small plugs may fit a suitable opening, but a wide or densely rooted plug needs a hole made with a shovel or another tool that leaves enough space around it. A bar cannot make up for a hole that is too narrow.
Soil matters just as much. Moist soil that yields to the blade is easier to work than frozen, very dry, rocky, or waterlogged ground. In sticky wet clay, levering hard can press the sides of a slit into a smooth, compacted wall. Wait for better conditions or choose a method that lets you inspect and loosen the planting area. Do not force the blade against a buried stone or root.
Before the First Cut
Choose a suitable planting time for the species and local climate, and follow the nursery’s directions. Keep bare roots cool and moist, shaded from sun and wind, until each seedling goes into the ground. Take out only the plants you can set promptly. Dry roots can be damaged long before the leaves show trouble.
Clear grass or debris from the planting spot so you can see the soil surface. Check the depth from the root tips to the root collar, the transition between stem and roots. For small forest seedlings, the nursery soil line is a useful reference; follow species and nursery guidance for exact depth. Avoid burying foliage or leaving roots exposed.
Set the bar on firm ground and wear sturdy footwear. Check what lies beneath the site before driving a metal blade into the soil, including any buried utilities. A clean, secure handle and an intact foot step also make the work easier to control.
Open the Slot and Place the Seedling
The following sequence follows the method illustrated by University of Missouri Extension. Work deliberately on the first few plants; a quick check now is easier than trying to repair roots after the soil has settled.
- Open the slot. Push the blade straight down, using the foot step if needed. Pull the handle back to open a hole. Avoid repeatedly rocking it in wet soil, where that motion can compact the sides.
- Check the space. Remove the tool and compare the opening with the roots. If the roots cannot hang naturally at the correct depth, enlarge the hole or use a shovel.
- Place the roots. Lower the seedling into the opening with its roots straight and the collar at the recommended depth. Gently adjust the plant so the roots do not curl upward. Hold it upright while closing the slit.
- Close from below. Insert the planting bar straight into the soil about 3 to 4 inches from the seedling. Pull the handle away from the plant to press soil toward the bottom of the root zone; then work the handle to firm soil against the upper roots.
- Finish the surface. Close the second opening with your heel and firm the surface around the seedling without crushing its stem or packing wet soil excessively.
The second insertion with a dibble bar is important. If only the top of the slit closes, a pocket can remain around the lower roots. Soil needs to touch the roots along their length, while retaining a workable structure for water and air.
Check the Work and Care for the Plant
A tree planting tool can move quickly enough to hide a repeated mistake. After the first few seedlings, gently lift one for inspection and replant it: check for a root that has bent upward, a deep air pocket, or an incorrect collar depth. Adjust the next hole before continuing.
Water as appropriate for the species and site, and check the soil after watering. If it settles and leaves roots exposed, add soil and firm it gently. Keep competing grass away from the immediate planting area; mulch can help retain moisture, but leave space around the stem and follow local recommendations.
The likely mistake is a J-shaped root, bent upward because the slit was too shallow. To spot it, carefully lift and inspect a newly planted seedling; if the root curls, reopen a deeper or wider hole, straighten the roots, and replant at the recommended depth.


