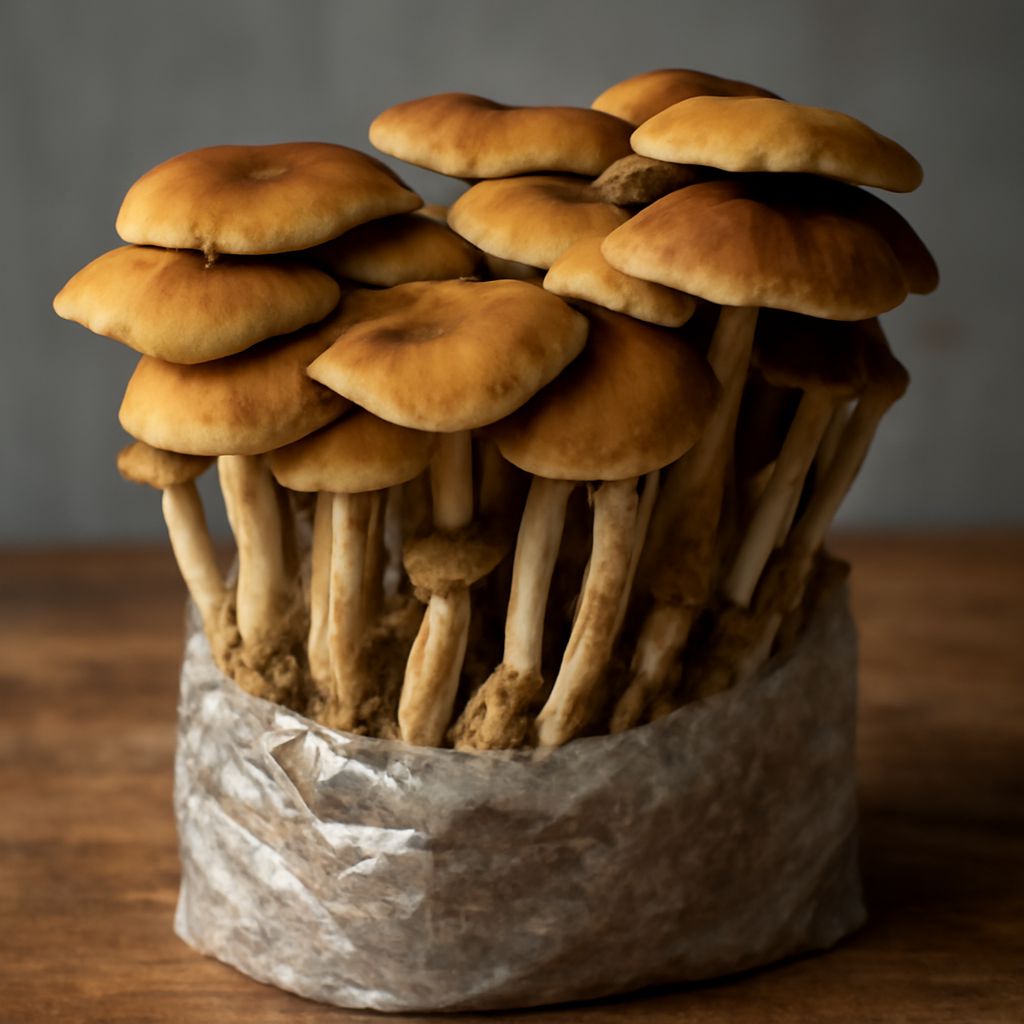
A ready-to-fruit oyster mushroom kit arrives with a colonized block and a short list of steps. An empty cultivation bag gives you more control, but you must supply and prepare the growing material and spawn. Choose the format that matches the work you want to do and the conditions you can provide.
A bag for growing edible mushrooms holds the substrate together and helps manage moisture. The species, stage of growth, and supplier’s instructions determine when it stays closed, how it exchanges air, and where it opens for fruiting.
Mushroom grow bag formats compared
A ready-to-fruit kit is the simplest starting point. The seller has already inoculated the growing material and allowed the fungus to colonize it. You provide the suitable location, humidity, and fresh air described in the instructions. Some kits include an outer box that supports the block and marks where it should be opened.
An inoculated but not fully colonized mushroom grow bag needs more time before fruiting. The mycelium—the fine network of fungal growth—must spread through the substrate first. Keep the bag under the conditions supplied for that stage, and do not cut it open merely because it has arrived.
Empty mushroom grow bags are intended for people preparing their own substrate and adding spawn. They come in different dimensions, thicknesses, and materials. Some have a filter patch for gas exchange and a top that must be sealed after filling. Illinois Extension describes filter-patch bags used for growing mushroom blocks.
Match the bag to the edible species
Check the complete species name and strain on a kit or spawn label. Oyster mushrooms are a common starting choice, but even oyster strains differ in their preferred temperatures and fruiting conditions. Choose a product intended for edible cultivation from a reputable supplier, with instructions for the species you are buying.
A bag for mushroom cultivation must also match the substrate. Wood-based blocks, straw, and other materials do not all suit every species or preparation method. If you buy spawn and substrate separately, confirm that the supplier recommends the combination and provides a reliable preparation method. Do not assume that a bag alone makes untreated material ready to use.
Consider how much room the block and its fruiting area need. A large bag may be economical per unit of material, but it is heavier to handle and may generate more heat inside during colonization. Begin with a size you can store, monitor, and move without crushing the filter patch or the developing mushrooms.
Understand filters, openings, and material
A filter patch allows gas exchange while helping limit contaminants during the closed stage. Its size and placement should suit the intended material and process. Keep the patch clean and unobstructed; do not cover it with tape unless the product’s directions specifically call for that step.
Mushroom growing bags can have different closures or openings. Some are supplied sealed; empty bags may require an appropriate sealer or another closure specified by the maker. A fruiting kit may call for a slit in one side, an opened top, or a different method. Follow the instructions for that species and block rather than copying a cut from an unrelated kit.
If the plan involves heat-treating substrate in the bag, check the manufacturer’s stated material and temperature limits for the entire process. A bag meant only for fruiting is not automatically suitable for heating. Follow the equipment and bag instructions; a ready-to-fruit block avoids that preparation step.
Set up and monitor a kit
On arrival, inspect a growing bag for tears, leaks, and a damaged filter. Read the storage directions immediately: some products need prompt setup, while others specify short-term storage. Place it in the temperature and light range given for its current stage, away from direct heat and drying drafts.
For a kit ready to fruit, make only the opening specified by the supplier. Maintain humidity and fresh air as directed; do not leave standing water inside the bag. Watch for small developing mushrooms and give them space to expand. Harvest at the stage recommended for the species, using clean hands and tools.
Mushroom grow bags should be checked regularly for unexpected colored growth, foul odors, or other signs of contamination. Normal white mycelium can be dense or wispy, so use the supplier’s photographs and guidance when uncertain. University of Florida’s oyster guide identifies unusual blue, green, black, or yellow spots as possible contamination. Isolate a suspect bag and ask the supplier; discard heavily contaminated material rather than eating it.
Check the package before buying
Compare the total delivered price, not just the number printed beside a bag. A complete block includes prepared material and spawn; an empty container does not. Shipping time, shelf life, the number of bags, and the equipment needed to seal or prepare them all affect the real cost.
Before you order bags for growing mushrooms, check these details against your intended setup:
- Is the edible species and strain named, and is the block ready to fruit or still colonizing?
- Are substrate and spawn included, and are they compatible?
- What are the bag’s dimensions, capacity, material, and filter specifications?
- What temperature, humidity, airflow, and light are needed at each stage?
- How should the bag be opened, and what should you do if it arrives damaged or contaminated?
If the seller cannot provide those basics, choose a product with clear species-specific instructions. A suitable mushroom cultivation bag is one you can handle and monitor with the space and equipment you already have.


